Install on Windows (GUI)
Once you have downloaded the GUI installer for Windows, deploying Syncplify Server! on your machine/VM is a simple, 3-phase, guided process.
Phase 1
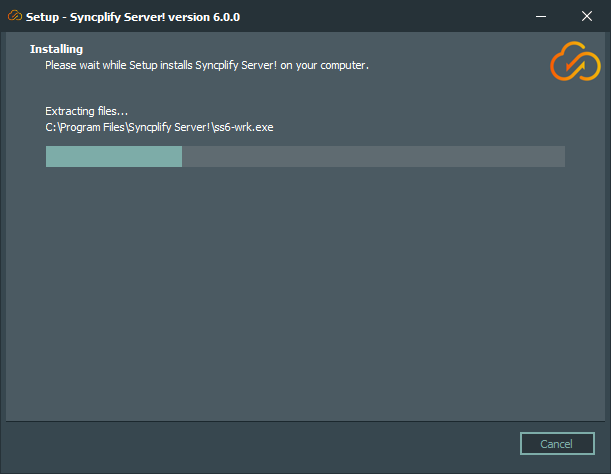
Double click on the installer, choose the destination path (or leave the pre-filled one which is almost always the best choice) and let the installer copy all the files to your system. This phase will also automatically adjust your system configuration and create all the necessary Windows Firewall rules.
Phase 2
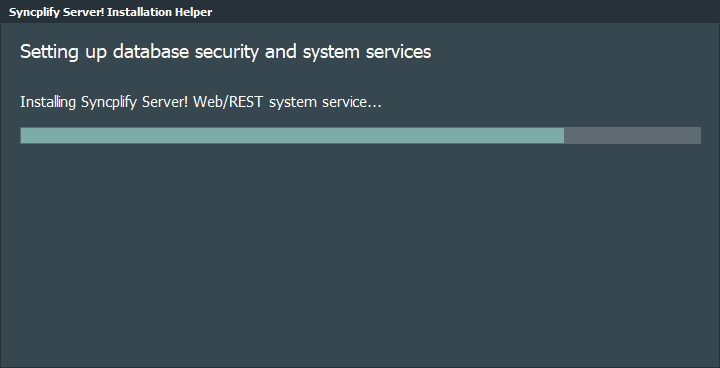
When you click Finish on the last page of the “setup” program, a second program will run automatically; this second and separate program prepares your operating system settings and services for the first run of Syncplify Server! on your machine/VM.
This second program is 100% automatic, and - once done - it will present to you a summary like this (or similar):
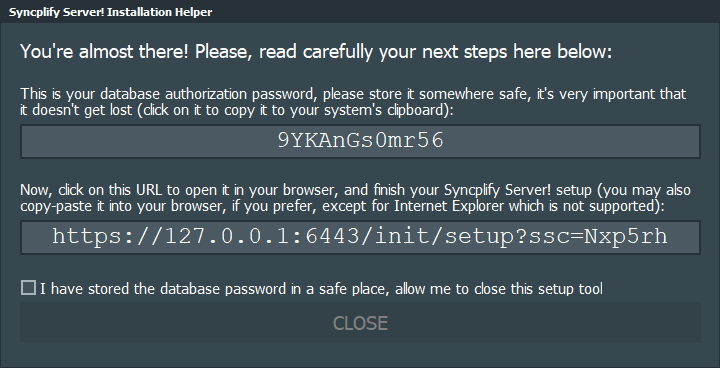
At this point, simply click on the provided URL to initiate the third and last phase of the software installation, which will occur in your browser.
You may use almost any browser you like, except for Internet Explorer.
Phase 3
When you click on the link, your default browser opens (make sure it’s not Internet Explorer) and presents you with a brief guided procedure to configure your Syncplify Server! node, and to create your first SuperAdmin profile.
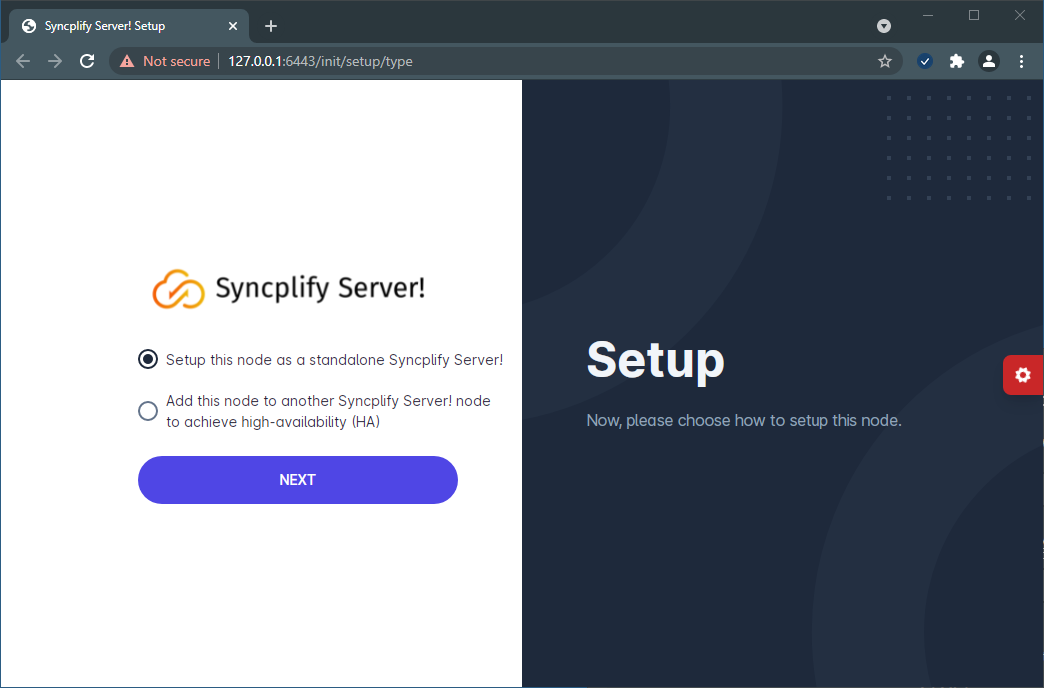
The first time you access our web service it will use a self-signed certificate, and you will be accessing it via its IP address rather than a host name. For these reasons, your browser will display a security warning. No worries, you can safely accept it and move forward, and install a trusted CA-issued certificate at a later time.